

Pedals and straps are the most-used and least-inspected parts of any exercise bike. They take every ounce of force you produce, they sit right where sweat lands, and almost nobody looks at them until something snaps mid-session. A pedal failing at speed is one of the few genuinely dangerous things that can happen on a stationary bike, and it’s entirely preventable with about ten minutes a month.
Why Pedals Fail Before Anything Else
Every pedal stroke puts rotational force through a threaded spindle roughly the thickness of a pencil. Multiply that by 60 to 90 strokes per minute across hundreds of sessions and you have a component under constant cyclic stress.
Sweat makes it worse. It drips directly onto the crank arm and pedal assembly, where it corrodes the threads and works into the bearing. Once corrosion starts inside the spindle, the pedal develops play, and play accelerates wear dramatically.
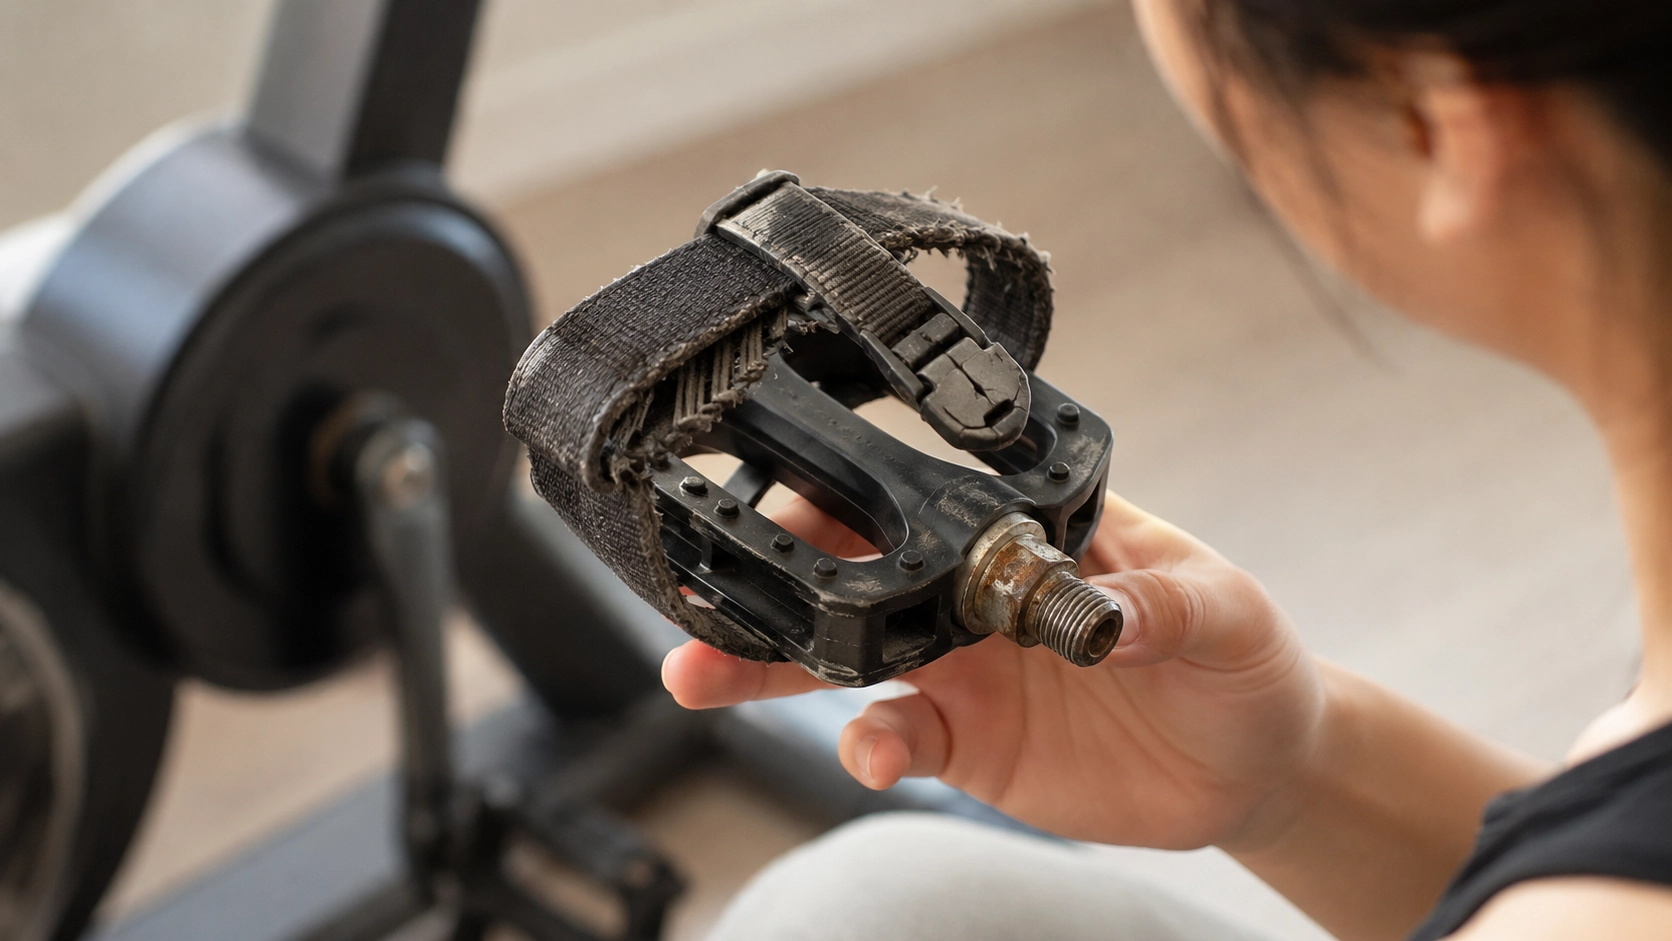
Straps have a shorter lifespan still. Nylon webbing frays where it passes through the buckle, plastic ratchets crack after repeated tightening, and the mounting screws that hold straps to the pedal cage loosen with every adjustment.
The Monthly Pedal Inspection
Do this with the bike stationary. It takes about five minutes.
- Check for play: Grab each pedal and rock it side to side. Any wobble means the bearing or spindle is worn.
- Spin the pedal: It should rotate freely and quietly. Grinding or resistance points to a failing bearing.
- Check tightness: Try to turn the pedal by hand at the crank connection. It should not budge.
- Inspect the crank arm threads: Look for rust, stripped threads, or a visible gap between pedal and crank.
- Check the pedal body: Cracks in plastic cages or bent metal cages mean replacement, not repair.
- Listen during a short ride: Creaking under load usually means a loose pedal or dry threads.
The single most important item is tightness. A pedal that works loose will strip the crank arm threads, which turns a 25-dollar pedal replacement into a crank arm replacement or a scrapped bike.
Tightening and Removing Pedals Correctly
Here’s the detail that catches almost everyone: the left pedal has a reverse thread. It tightens counterclockwise and loosens clockwise. The right pedal is normal. This exists so that pedaling motion tightens both pedals rather than loosening one.
Pedals are marked L and R, usually on the spindle end. Never force a pedal that resists, since cross-threading an aluminum crank arm is permanent damage.
When reinstalling, apply a small amount of grease to the threads first. This prevents seizing and makes future removal possible. Tighten firmly with a wrench, not just by hand, but don’t lean your body weight into it.
Check pedal tightness monthly regardless of how the bike feels. Bikes used for high-intensity intervals need more frequent checks, since standing sprints put far more lateral force through the pedal than seated riding. Models with app-guided classes tend to encourage that kind of riding, and units from our roundup of the best exercise bikes with app connectivity under 500 dollars are worth checking every few weeks rather than monthly.
Caring for Straps and Cages
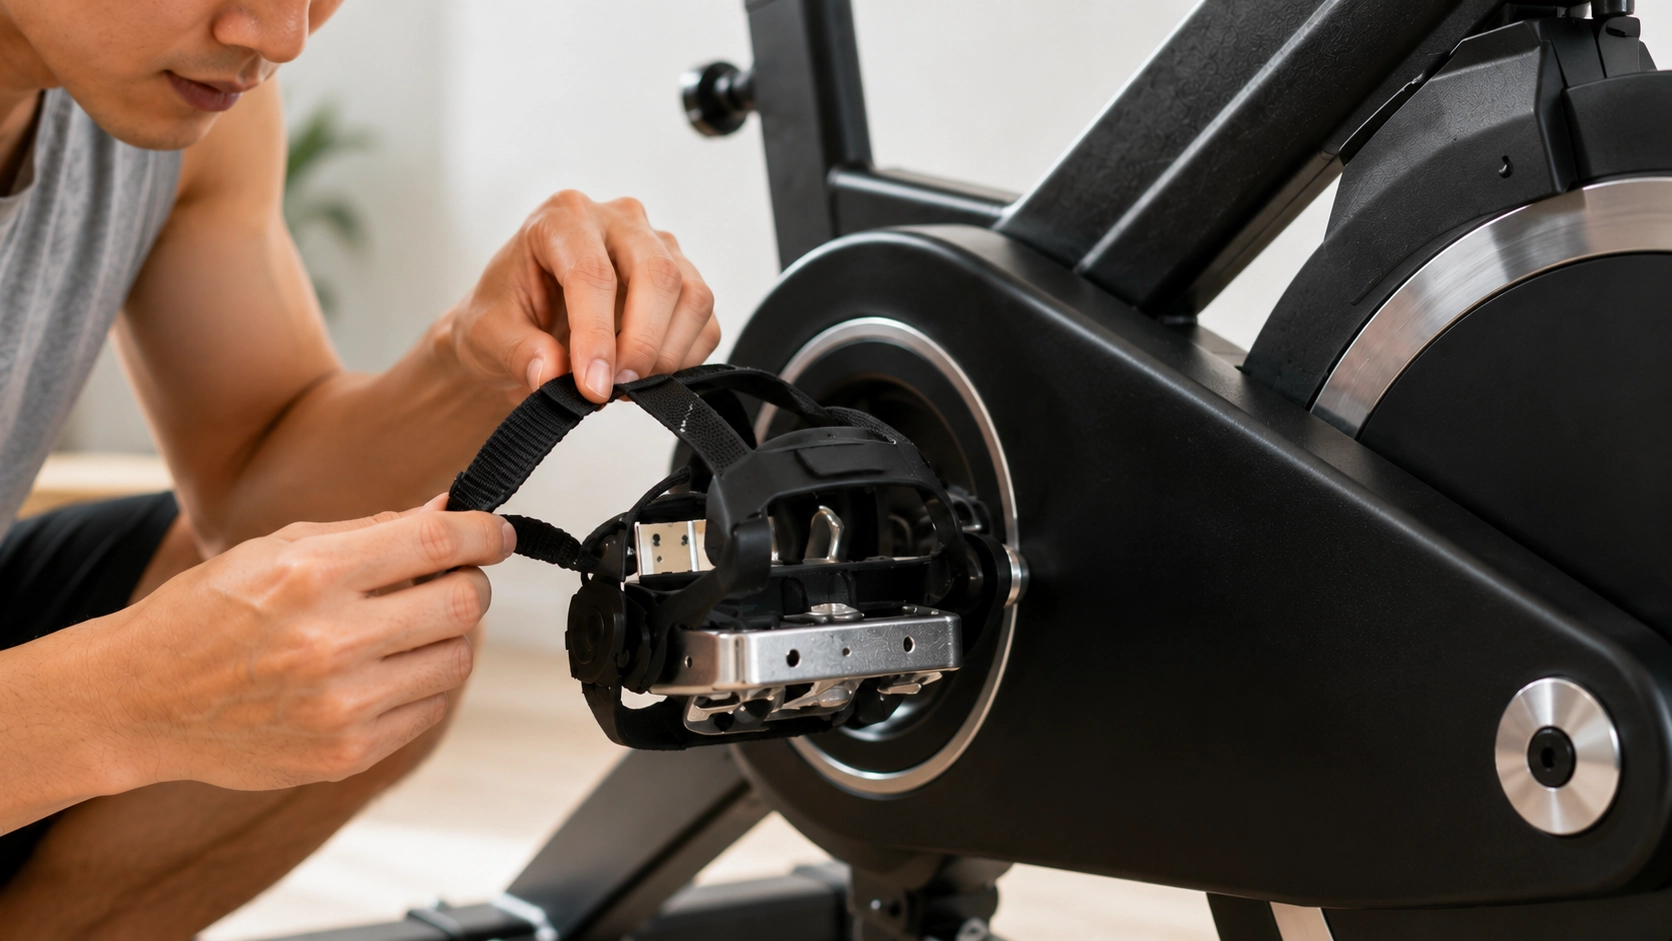
Straps need cleaning more than any other part of the bike because they sit under your feet and absorb everything.
- Wipe after every session: A damp cloth on the webbing prevents salt buildup that stiffens and degrades nylon.
- Inspect the buckle monthly: Cracked plastic ratchets fail suddenly, usually mid-sprint.
- Check webbing at friction points: Fraying starts where the strap passes through the buckle or cage slot.
- Tighten mounting screws: The small screws holding straps to the cage loosen constantly.
- Store straps loose: Leaving them cinched tight between sessions stretches and weakens the webbing.
Replace straps at the first sign of fraying rather than waiting. Most manufacturers sell replacements for under 20 dollars, and generic universal straps fit many cage designs. Folding bikes deserve extra attention here since the folding action can pinch straps, and models from our roundup of the best folding exercise bikes under 1000 dollars should have straps tucked clear before folding.
Cleaning Without Causing Damage
Use mild soapy water on straps and pedal cages. Skip solvents and alcohol-heavy sprays, which make nylon brittle and crack plastic pedal bodies over time.
Never spray anything directly at the pedal spindle. Liquid driven into the bearing does exactly the damage you’re trying to prevent. Wipe with a damp cloth instead, then dry thoroughly.
Our guide on how to deep clean gym equipment covers which cleaners are safe on which materials, which matters here because pedals combine metal, plastic, and nylon in one small assembly.
Fit This Into Your Wider Bike Care
Pedal care is one part of keeping a bike running well. The resistance mechanism, flywheel, and drive system all need their own routines, and our exercise bike resistance system maintenance guide covers those alongside common noise problems.
Noise often starts at the pedals, so if a quiet bike has become loud, check there before assuming the flywheel. Models from our roundup of the best low noise exercise bikes stay quiet largely because their pedal assemblies use sealed bearings, which still need tightness checks even though they can’t be lubricated.
Compact bikes in shared rooms benefit most from consistent care since noise carries, and our list of the best exercise bikes for small spaces from 300 to 400 dollars covers models suited to that setting. To fold all of this into a schedule, our gym home equipment maintenance schedule lays out what to check weekly, monthly, and annually.
Grab each pedal, rock it, spin it, then tighten it. Thirty seconds a month prevents the one bike failure that can actually hurt you.

Write Your Review
No reviews yet. Be the first to share your experience!